

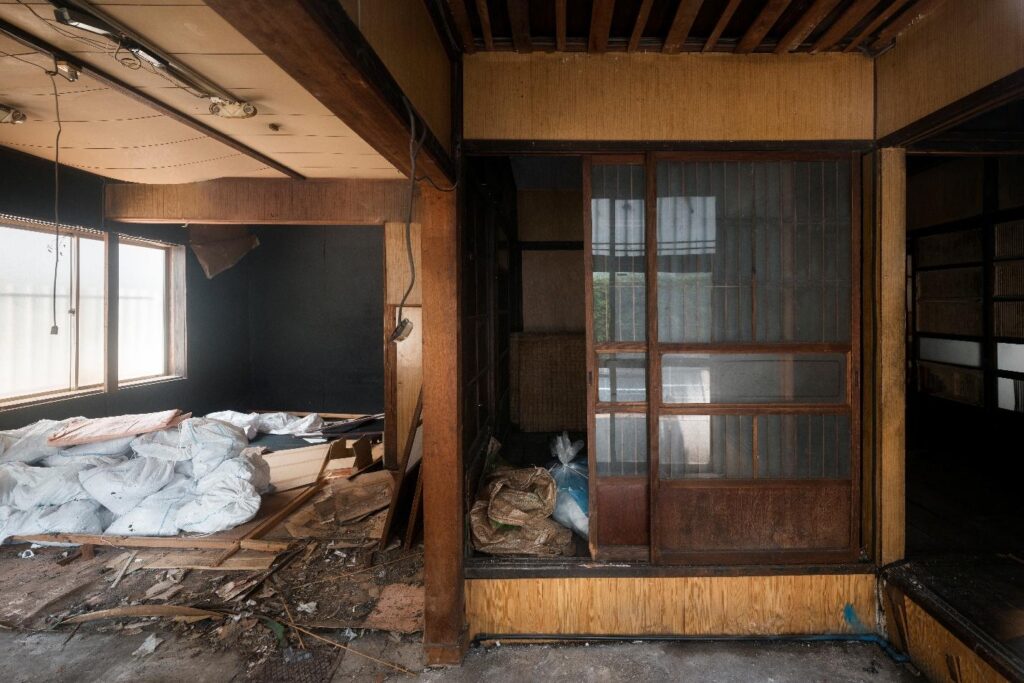
Remodeling can be like unwrapping a mystery gift — you have no idea what lurks behind outdated drywall or under a squeaky floor. A big swing of the hammer is tempting, but oftentimes a rush to get started results in surprise costs and delays. Selective interior demolition allows you to do precisely what you want to do: remove what is truly in the way (not demo everything), preserve sound materials, and keep the rest of your home livable while you work.
It is somewhat like surgery and not amputation: careful, neat, and focused on long term health. Knowing the early signs below will help you know when to stop crying and lean on reputable demolition contractors to repair/remain intact, so the bones of your house are protected.
Cracking Drywall Warnings
Drywall (https://www.britannica.com/technology/drywall) has a long history of silence and, then out of nowhere, rupture signals some kind of shift has happened. Spending a few minutes inspecting now may save you several months of patching and painting frustration later. Cracks rarely lie; they map the stress hiding behind your walls and point directly to structural concerns. Study their direction, length, and width, and always consider what sits on the opposite side—heavy roof loads, bathrooms with leaky pipes, or decades-old electrical runs that may need rerouting during interior strip-out services.
- Diagonal cracks from window or door corners often show load-bearing movement that may require structural demolition of studs or headers before cosmetic fixes.
- Horizontal cracks near the ceiling line point to roof-load pressure that soft strip teams can expose without flattening the entire wall.
- Bulges or “soft” spots reveal moisture or rot; uncovering them early keeps mold from spreading to the next room.
When you see any of these signs, a quick call for a controlled demolition assessment is cheaper than repainting twice. Plus, documenting damage before work begins helps you secure permits, satisfy insurance, and plan the right scope so surprises don’t derail your schedule.
When Floors Tell the Story
Floors speak through squeaks, slopes, and stubborn doors. Each of those annoyances’ hints at what’s flexing in the crawl space. If you spot tile cracks that spider-web overnight or carpets receding from baseboards, don’t just blame age—your subfloor could be inching downward. Opening the floor system in a planned, soft strip demolition lets pros shore up joists, sister beams, and add blocking long before finish materials hide underlying issues.
- Noticeable dips along one wall suggest joist sag that trained crews can correct before you install luxury planks.
- Doors that swing shut on their own reveal a subtle twist that worsens with time and makes trim carpentry a headache.
- Tiles that pop loose repeatedly tell you adhesive is not the only culprit; motion below must be addressed.
If you tick any of these boxes, bring in a local team—perhaps interior demolition Coeur d’Alene—to peel back flooring safely and reinforce what lies beneath. After repairs, you’ll notice doors latch smoothly, rugs lie flat, and foot-traffic noise drops, proving the prep work paid off.
Can You Salvage Trim?
Original trim and crown can provide instant character and replacing can eat up an already budget betting on charm. Fortunately, most trim is already separate and then cleanly taken off if you are careful. Simply slide a thin pry bar behind the board, shim the trim, and then work your way from nail to nail. Mark each section as you go for ease of reinstall (blue painter’s tape is your friend), that way installing it will feel like fitting together a kids puzzle. Furthermore, by saving wood you are also protecting deconstruction services to recycle reusable lumber from the landfill.
When you reinstall, a little wood filler and fresh paint make century-old pine look showroom-ready, and your guests will never guess it once lived under seven coats of gloss. Investing the extra hour to salvage trim also means profiles and wood species match throughout the house, a subtle detail that unifies old and new spaces.
Question: Will My Home Be Dusty?
Dust is the silent souvenir of every remodel, but you can keep it from settling in. Professionals build plastic zip walls, pressurize rooms with negative-air machines, and run HEPA filters round the clock. That same approach works for DIYers: seal HVAC (see this link for more info) returns, create one entry, and vacuum daily. A solid dust containment strategy protects family lungs, saves hours of wiping surfaces later, and prevents grit from scratching your brand-new floors.
Remember, particles finer than table salt can float for days, so plan for air scrubbing until demolition ends. If relatives have asthma or toddlers are learning to crawl, consider moving them to a dust-free zone for the week. Your future self will thank you when cleanup takes hours instead of days.
Planning the Cleanup Phase
Finishing strong means leaving no rogue nail behind. Cleanup starts the day demolition begins, not after the last wall comes down. Schedule the right-sized dumpster early, and place plywood under its wheels to save your driveway. Treat debris sorting like a relay race—every load that reaches the bin promptly keeps momentum and morale high.
- Keep a rolling magnet sweeper on site to capture stray fasteners before tires or bare feet find them.
- Bag fiberglass insulation separately so it doesn’t escape when the dumpster lid drops.
- Plan a white-glove walk-through with bright work lights; fresh eyes always spot the last sliver.
Sweep, vacuum, and mop the flooring on the job site two times after the dumpsters are removed. The first time you sweep the floor is to remove the bulk of the saw dust and remnants of crumbs from drywall. The second time you sweep the floor is a clean slate and is critical for finish trades. A clean jobsite is impressive to inspectors and happy patrons and neighbors. A clean site helps painters, tilers and cabinet houses to complete their best, without having to worry about dirt and debris.
Being proactive about preserving building materials in your existing structure, using selective demolition, and cleaning as you go, will also keep your job site in good health and running smoothly. If you’ve done your prep work well, the cracks and creaks that you saw along the way will develop into solid ground your family can create a beautiful space to live. Furthermore, if your friends later ask how you did it, you’ll say you had no integrity or didn’t skip any details, and you paid attention to the signs and the right build pros.


