

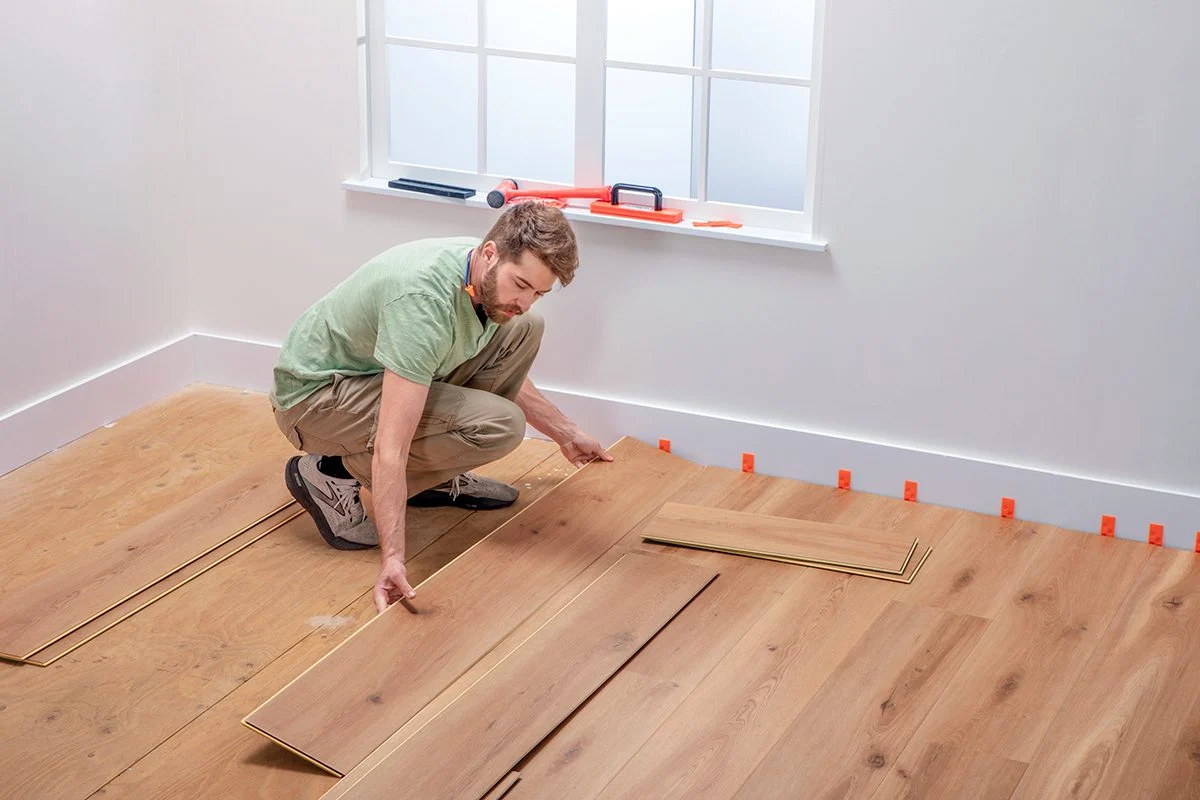
Luxury vinyl plank flooring can change the look of a home quickly, but the finished floor depends on much more than the planks themselves. What is underneath the flooring often matters just as much as the material going on top.
Concrete that looks acceptable at first glance can still have high spots, low areas, cracks, old adhesive, or leftover material from a previous floor. If those conditions are ignored, they can affect how the LVP feels, locks together, and performs after installation.
For that reason, the best time to evaluate the floor is before the first plank is installed.
Start With the Subfloor, Not the New Flooring
Homeowners naturally spend most of their time choosing the LVP itself. Color, plank width, texture, wear layer, and overall appearance are important, but none of those choices correct problems underneath the floor.
Once the old flooring is removed, the exposed surface should be inspected as a complete system.
On concrete slabs, this means looking for high and low areas, cracks, old patching, adhesive residue, thinset, damaged concrete, and anything else that could interfere with the new installation.
A floor does not necessarily need to look perfectly smooth. What matters is whether the surface meets the requirements of the flooring being installed and provides a suitable foundation for it.
Flatness Matters More Than Many Homeowners Expect
LVP is often described as an easy flooring material to install, but that does not mean it can simply follow every variation in the floor underneath.
Low areas can allow sections of a floating floor to move when someone walks across them. High spots can create pressure in other areas and make it more difficult for the planks to sit correctly.
This becomes especially noticeable across larger rooms and long continuous runs.
Before luxury vinyl plank installation by Bay Way Flooring begins, checking the existing surface helps determine whether certain areas need grinding, patching, or leveling instead of trying to correct those problems while the flooring is already being installed.
That preparation may not be visible when the project is finished, but it can make a major difference in how the floor performs.
Removing the Old Floor Can Reveal Conditions You Could Not See Before
A room can appear reasonably flat while the existing flooring is still in place.
After demolition, the situation can look very different.
Old flooring may have hidden previous repairs, uneven patches, adhesive buildup, cracks, or transitions between different sections of concrete. In some homes, one part of the room may have been repaired years earlier while another section remains original.
That is why final preparation decisions are often easier to make after the old flooring has been removed.
Instead of guessing what is underneath, the installer can work with the actual conditions of the floor.
Old Adhesive and Thinset Should Not Automatically Be Covered
When previous flooring is removed, material can remain bonded to the concrete.
Depending on what was installed before, this may include adhesive, mortar, thinset, patching compounds, or other residue.
The important question is not simply whether the material is still attached. It is whether the remaining surface is suitable for the new flooring system.
Loose or uneven material can create irregularities underneath LVP. Heavy buildup can also change floor height or create high areas that become noticeable across a continuous installation.
In some situations, mechanical removal or grinding may be necessary. In others, smaller areas may only require localized preparation.
The goal is not to remove material unnecessarily. It is to create a clean, sound, and appropriately flat surface before the new flooring covers it.
Cracks Should Be Evaluated Before They Disappear Under the Flooring
Cracks in a concrete slab are common, especially in homes where the slab has been in place for many years. The presence of a crack does not automatically mean the entire floor has a serious problem.
What matters is the condition of the crack and whether there is movement, height difference, loose concrete, or previous repair material around it.
Once LVP covers the surface, those details are no longer easy to inspect. That is why cracks should be evaluated while the concrete is exposed and any necessary preparation can still be completed.
Simply covering a questionable area with new flooring does not address what is happening underneath it.
Moisture Conditions Still Matter With Vinyl Flooring
Because luxury vinyl plank is water-resistant, homeowners sometimes assume moisture underneath the floor is not important.
Those are two different issues.
The flooring itself may handle spills and everyday surface moisture well, while moisture coming through or affecting a concrete slab can create a different set of conditions beneath the installation.
The flooring manufacturer, installation method, and condition of the slab all need to be considered together. If there are signs of unusual moisture, previous flooring failure, staining, or other concerns, they should be investigated before the new floor is installed.
Covering the concrete first only makes the source of a future problem harder to reach.
Transitions and Finished Floor Heights Should Be Planned Early
Replacing flooring often changes the finished height of a room.
The new LVP may meet tile in a bathroom, an exterior door, a sliding door, stairs, cabinets, or flooring that is staying in another part of the home. Those meeting points should be considered before installation reaches them.
A small height difference that seems unimportant at the beginning of a project can become very noticeable at a doorway.
Planning transitions early also helps avoid awkward last-minute solutions once most of the flooring has already been installed.
The same applies when LVP continues through several connected rooms. Looking at the complete layout first usually produces a cleaner result than deciding each transition only when the installation reaches it.
The Installation Method Changes What the Floor Needs
Not every luxury vinyl plank product is installed the same way.
Some products use a floating click-lock system, while others are designed for glue-down installation. Manufacturers can also specify different requirements for floor flatness, expansion space, underlayment, moisture conditions, and preparation.
Those instructions matter.
A preparation method that works for one product may not automatically be appropriate for another. Before correcting the floor, the installer should know what material is being installed and what that particular system requires.
This is one reason floor preparation and flooring selection should not be treated as completely separate parts of the project.
Contractor’s Perspective
When we remove old flooring, I pay attention to how the exposed floor actually feels and looks instead of assuming the new LVP will hide everything.
Sometimes most of the slab is in good shape, and there are only a couple of areas that need attention. Other times we find a high spot, an old patch, adhesive, or a low section that was impossible to see before demolition.
I would rather correct those conditions while the floor is open. Once the LVP starts going down, the focus should be on installing the flooring correctly—not stopping every few rows to figure out a problem that could have been handled during preparation.
Expansion Space Should Be Part of the Installation Plan
Floating LVP needs room to respond to normal changes in the environment. The exact requirements depend on the flooring manufacturer, but expansion space around walls and other fixed objects should be planned before installation begins.
Problems can happen when flooring is installed too tightly against walls, door frames, cabinets, or other fixed surfaces.
Baseboards or trim may eventually cover the perimeter, but that does not mean the space underneath should be ignored. The finished appearance and the technical requirements of the flooring both need to be considered.
Long Runs Through Several Rooms Require More Planning
Installing LVP in one bedroom is different from running the same flooring continuously through a living room, kitchen, hallway, and several connected spaces.
The farther the installation travels, the more important the starting point and plank direction become.
Walls are not always perfectly straight or parallel. A small layout difference at the beginning can become much more noticeable after the flooring continues across a large area.
Doorways, narrow hallways, islands, cabinets, and adjoining rooms can also affect the layout. Looking at the entire installation before the first rows are placed helps prevent awkward cuts or alignment problems later.
Can LVP Be Installed Directly Over Concrete?
Yes, many luxury vinyl plank products can be installed over concrete when the slab is suitable for that particular flooring system.
The concrete should be sound, properly prepared, and within the flooring manufacturer’s requirements for flatness and moisture. High spots, low areas, cracks, adhesive residue, old thinset, coatings, or damaged sections should be evaluated before installation.
The fact that a floor is concrete does not automatically mean it is ready for LVP.
The condition of the slab and the requirements of the specific flooring product should determine how much preparation is needed.
Does Every Concrete Floor Need to Be Leveled Before LVP?
No.
A concrete floor should not be leveled simply because new flooring is being installed. Some slabs may already be suitable after cleaning and minor preparation.
Other floors may have isolated high spots that can be corrected by grinding, small low areas that need patching, or larger variations that require more extensive leveling.
The goal is not to make every slab perfectly level. The important issue for many flooring installations is creating a surface that is sufficiently flat and suitable for the flooring being installed.
Preparation should be based on the actual condition of the floor rather than applying the same solution to every project.
A Good LVP Installation Starts Before the First Plank
When homeowners look at a completed LVP floor, they see the color, plank pattern, transitions, and finished rooms.
They do not see most of the preparation underneath it.
That hidden work can include removing old material, grinding high areas, patching low spots, evaluating cracks, cleaning the substrate, checking transitions, and planning how the flooring will move through connected spaces.
Handling those details before installation allows the actual flooring process to be much more predictable.
It also helps avoid using the new flooring itself to compensate for conditions that should have been addressed underneath it.
FINAL THOUGHTS
Luxury vinyl plank can be a practical flooring choice for many homes, but the quality of the finished installation depends heavily on what happens before the planks are installed.
Removing the existing floor provides an opportunity to see the real condition of the substrate. High and low areas, cracks, old adhesive, moisture concerns, transitions, and layout decisions can then be addressed while they are still accessible.
Not every floor requires extensive preparation. The important part is determining what the specific floor actually needs.
When the substrate is evaluated first, and the installation is planned around the requirements of the selected LVP, the new flooring has a much better foundation for a clean, consistent installation throughout the home.